Better lighting, etc.

Planning and Development

Here’s the latest:

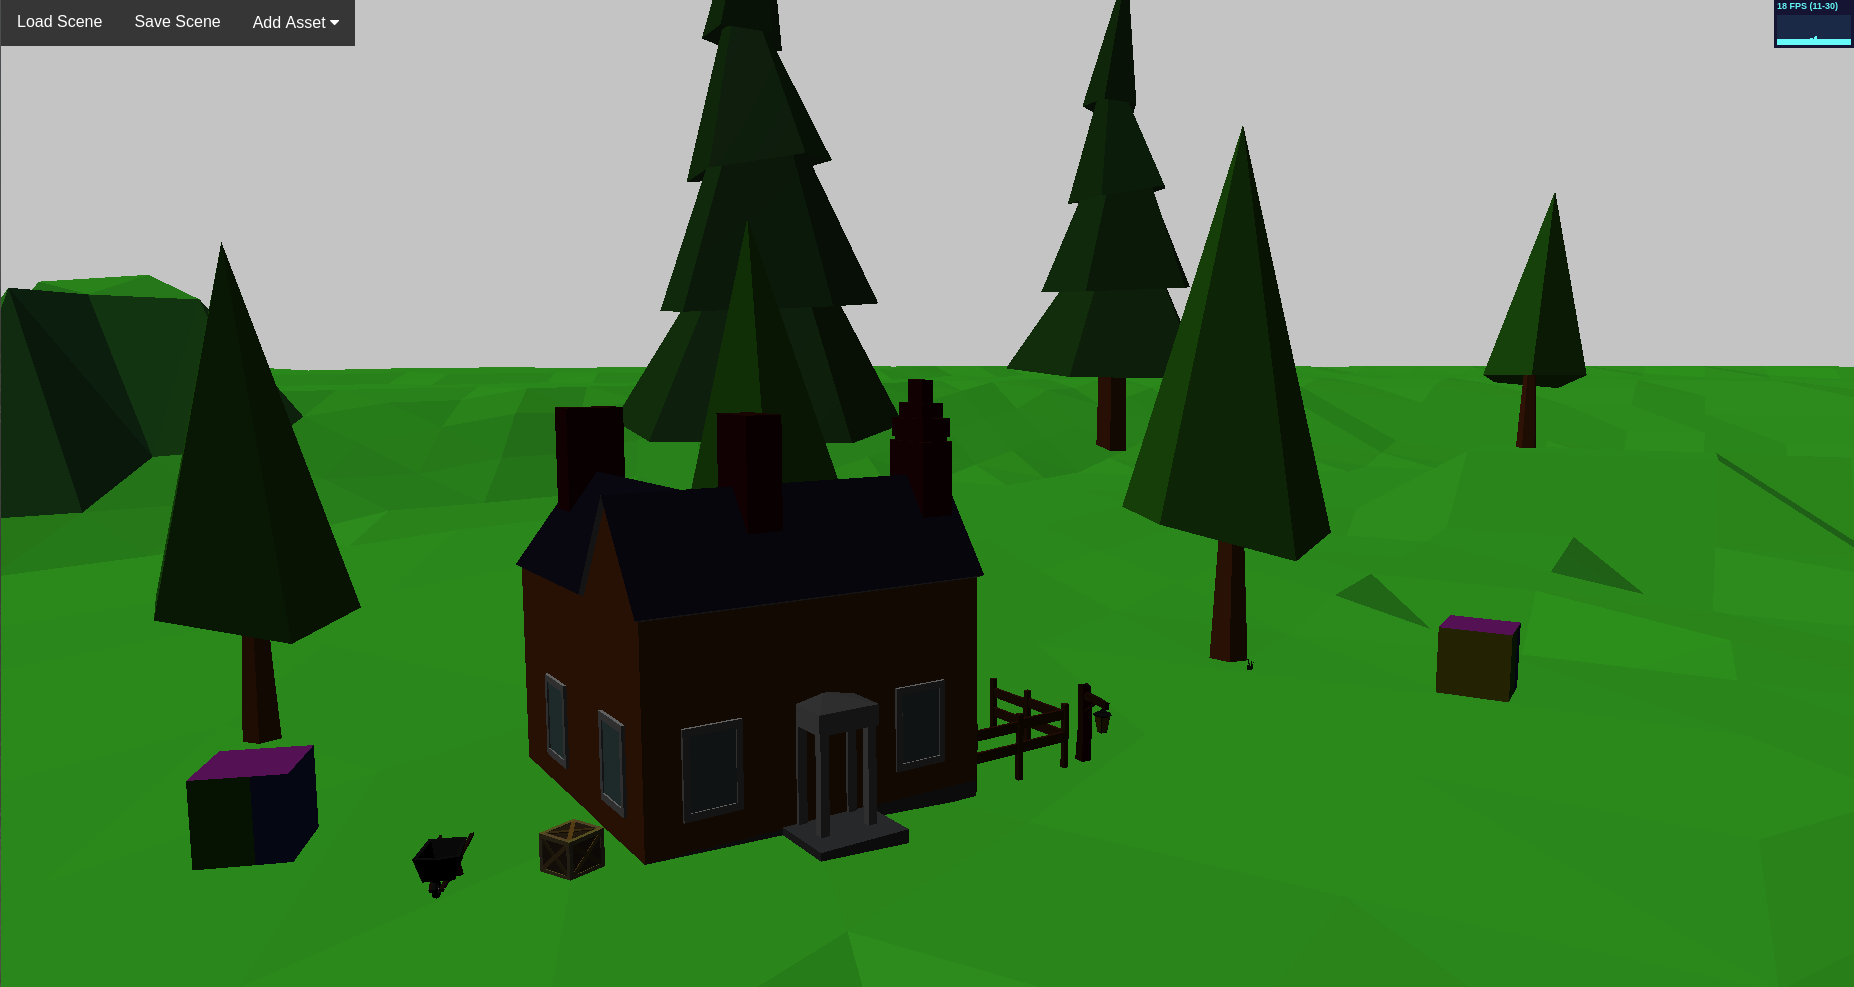
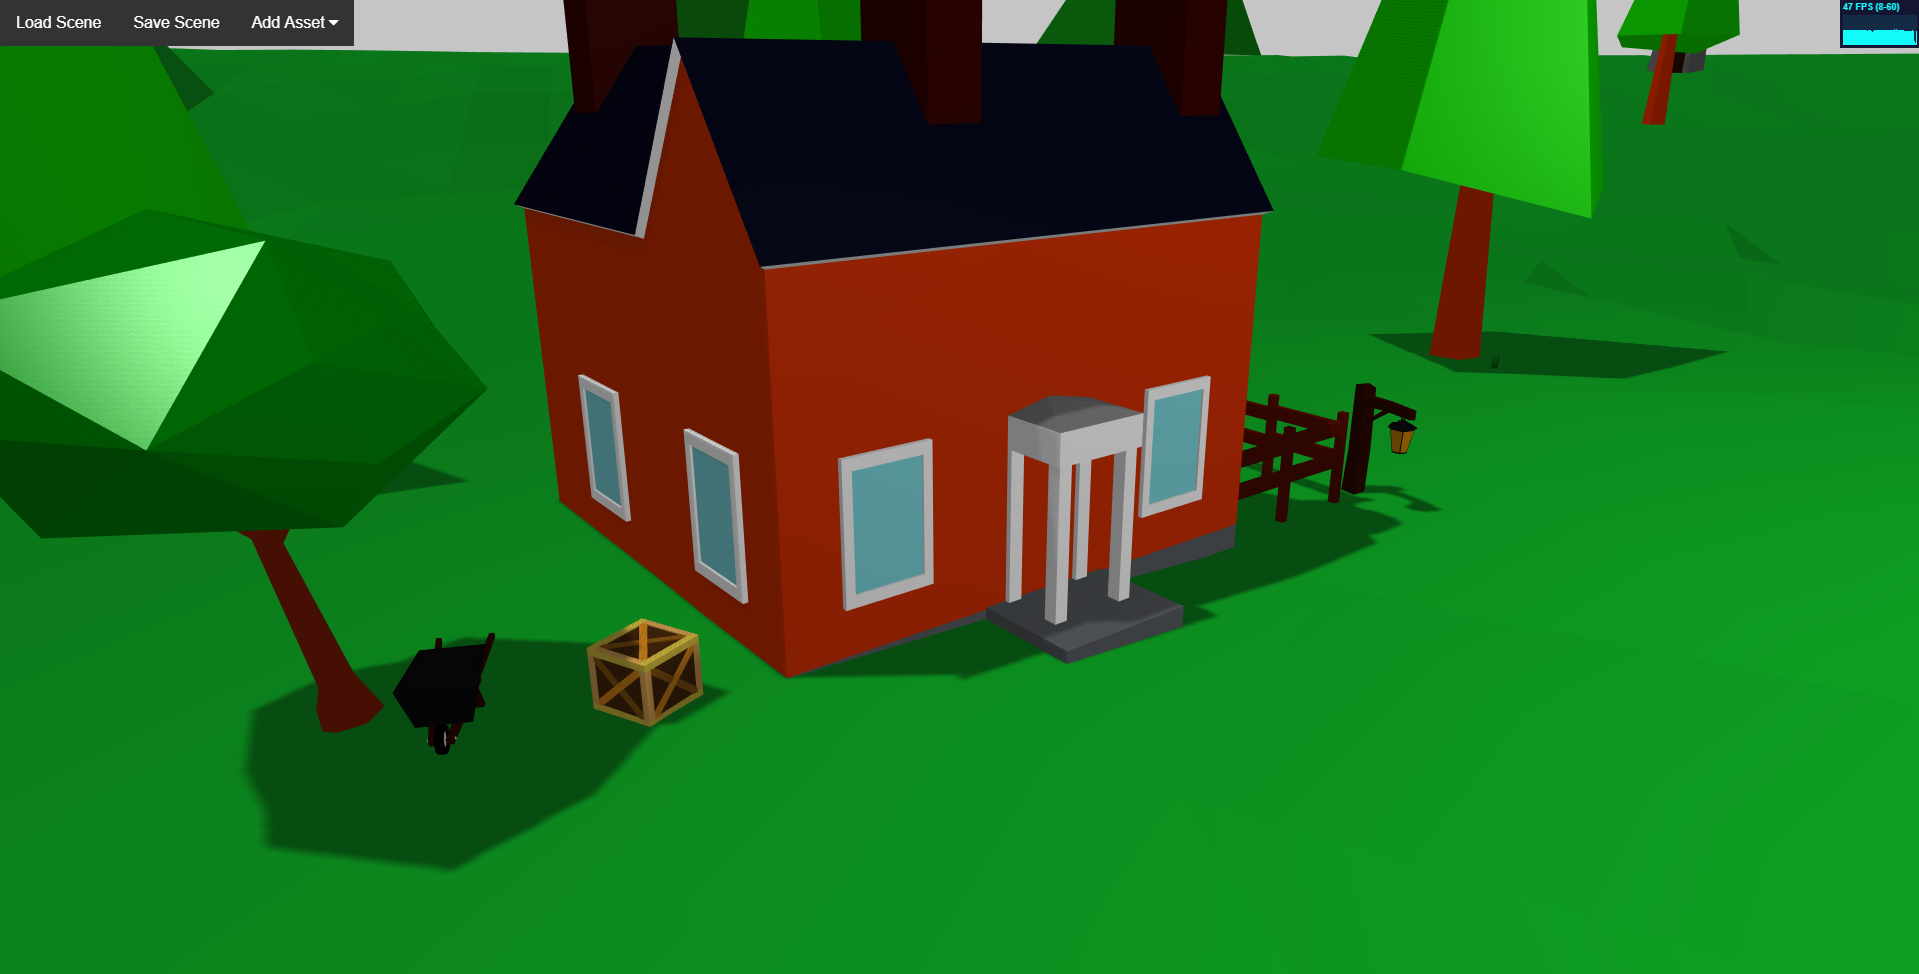
You’ll notice a few things.  First, the scene is just much brighter overall.  I bumped up the ambient light by a good bit and darkened the material on the terrain so it wouldn’t look blown out by the brighter lights.  Also, SHADOWS!!  THREE.js is so awesome.  Adding the shadows to a directional light took a little bit of fiddling but overall it was actually quite easy.  The shadows do affect performance.  You can see in the FPS counter I’m down to around 50 frames per second with this simple scene.  I want the game to be able to run on very low end hardware so users will need the ability to disable the shadows, but my goodness does it make a difference in the overall look and feel of the game.  I absolutely love that objects even shadow other objects, so you can see the shadow of the tree on the left hand side of the screen partially covering the crate.  Just absolutely fantastic.

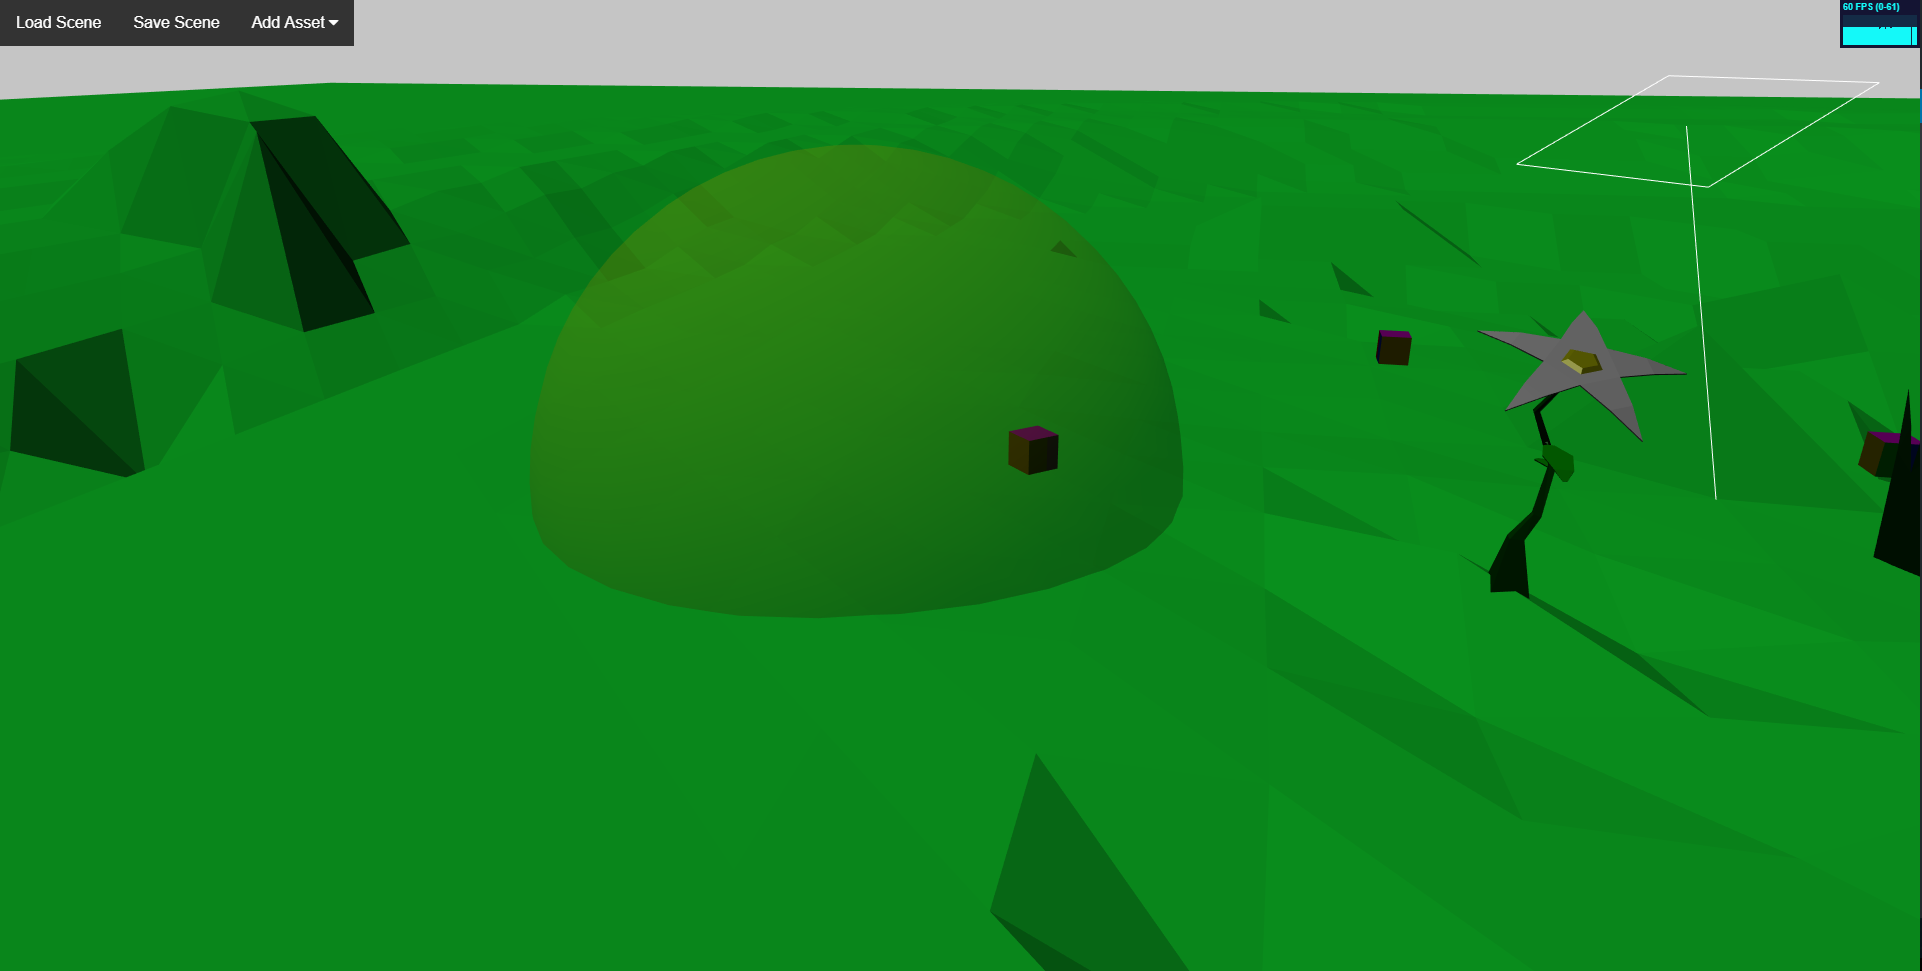
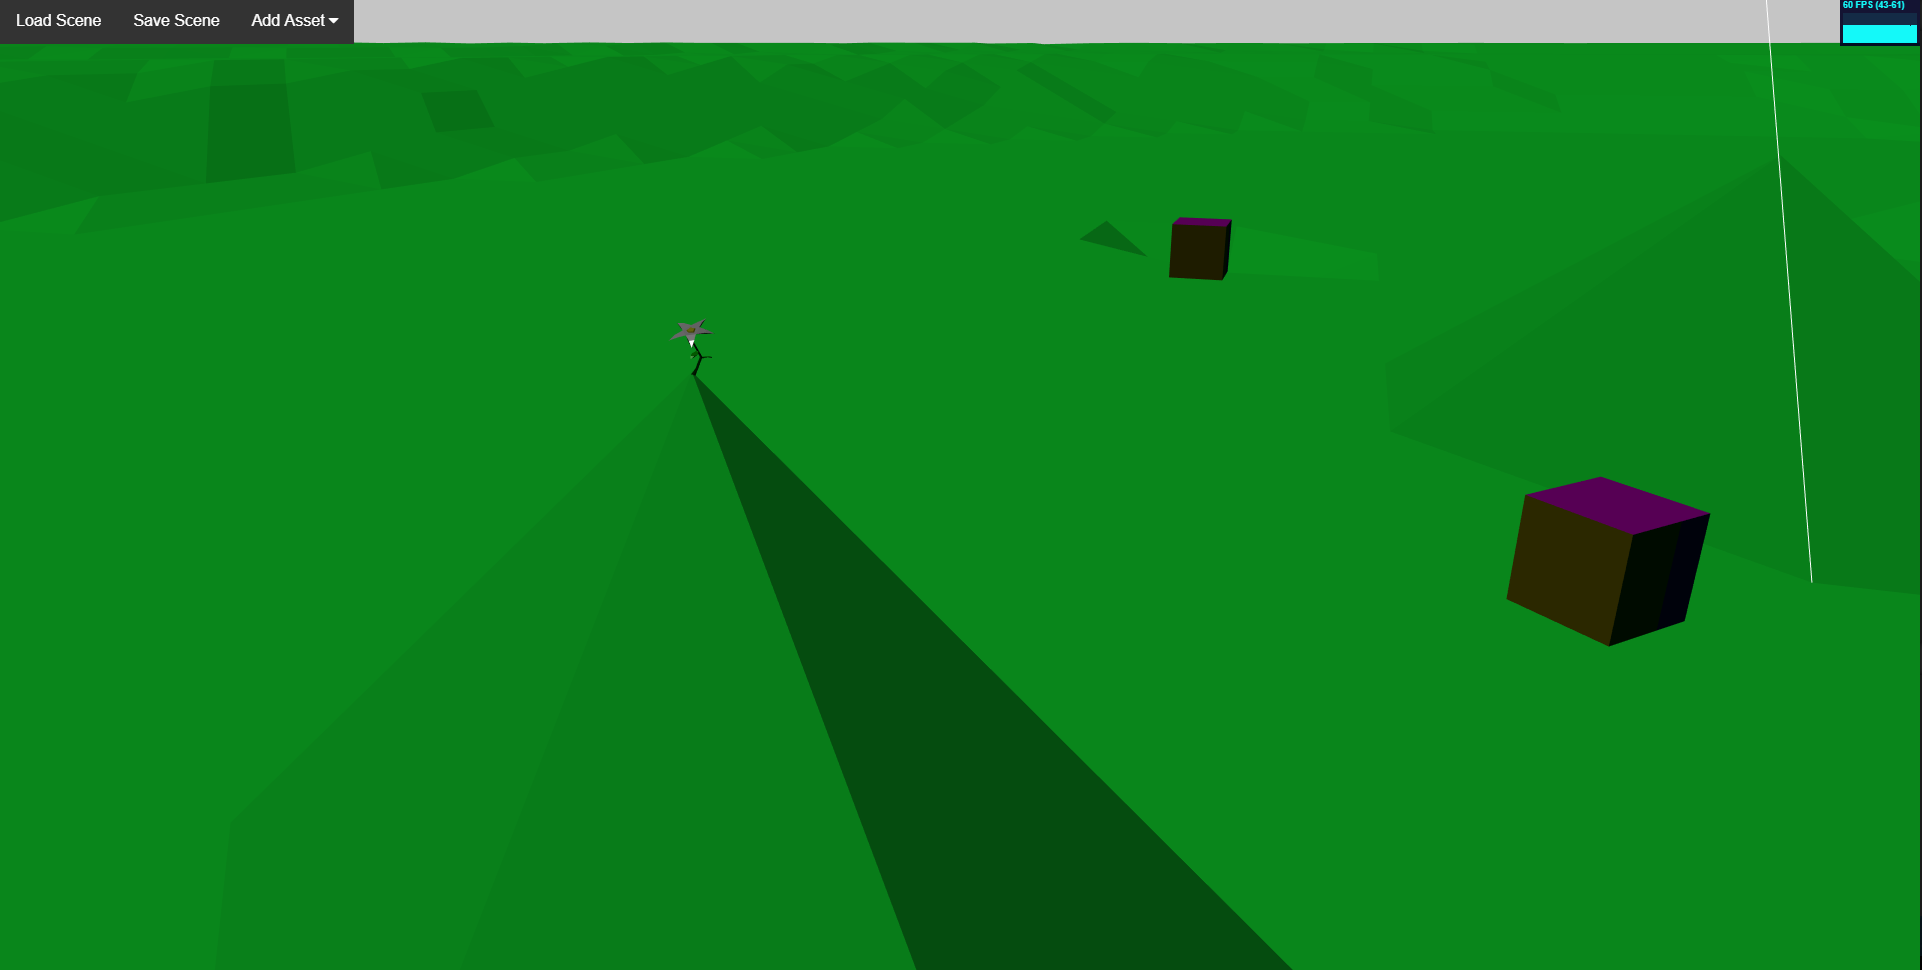
Some notes on implementation.  To keep the shadow map relatively small the directional light that is the sun now moves whenever the camera pans.  This means you will never see shadows more than about 50 meters past the camera’s target, but who cares?  This is also totally configurable so if a player has better hardware maybe that distance could change automatically to show shadows farther away.  I also added in the ability to remove objects from the world.  That was, as expected, quite simple.  You can also now toggle viewing the light helper objects so that if you want to see a directional light’s position and orientation, just hit ‘l’.  But most of the time that just gets in the way while editing so you can hide it.

That’s it for now.  I’m really happy with the better lighting.  I think the next step is to allow live editing of the lights in the scene.  Right now you can see the lights through the associated helpers, but you can’t actually select them and move them around in the world editor.  If I’m going to have lamps with individual lights in them or any other kind of somewhat complicated lighting in a scene I’ll need some better tools to place and move lights around.  Oh, and I’ll keep creating assets for Penrith Forest.

Penrith Forest

Asset Spotlight, Planning and Development

It’s kind of weird to call this a “forest” because there are zero trees so far, but here you go:

The lighting is bad but you can at least sort of make out the farmhouse, a crate, a wheelbarrow, and a lamp post.  All of these objects were added to and saved into the scene by the world editor.  I moved them all into place and rotated them around to look the way I wanted.  Again, this was all done in the world editor!!  You can still see the purple test boxes because I haven’t put in the object removal functionality yet, but it’s coming.  This also demonstrates how important light editing features are going to be.  All in all I’m so excited to be at this point.  The world editor’s controls are a bit awkward but the whole thing absolutely works and that’s the part that’s important for now.

Editor improvements

Planning and Development

As per my last post, I have changed the selection tool for terrain editing into a sphere.  It makes so much more sense to do it that way, and took about 10 minutes to change.  I have also changed the functionality so that editing the terrain is a “click-hold-drag” process instead of single clicks.  This gives much more control over the process.  Because of that I was able to change the amount that each update changes the terrain’s height down to 0.01, from 5.  Again, this is a much, much finer control for editing terrains.  I have put in a selectionStrength variable that I will eventually be able to change to affect how much or how little dragging across the terrain should affect it, but for now it’s just nice and slow.  When in terrain edit mode you can scroll the mouse wheel to make the selection sphere bigger or smaller, like this:

Small Selection

Big Selection

Overall I’m really happy with where I am right now.  I still need a way to remove objects from a scene but that’s such an easy thing I’ll probably save it for later and start creating accurately scaled assets for Penrith Forest.  I’ll probably take a few days to get a basic set of objects together then provide at least a screenshot of the area in the world editor, and eventually a demo you can run around in.

World editor update

Planning and Development

Here’s the latest scene from the world editor:

You can see a few objects I’ve added and the terrain is a bit of a mess, but the point is to show that with the world editor I can now edit the terrain pretty easily.  The terrain moves up and down in increments of 5 meters at this point and that will change eventually but it’s really pretty simple to modify terrain at this point.  Just click or shift-click and it moves.  Easy peasy.

I need to change the selection tool from an big elongated cone into a sphere, and I would like to be able to just click and drag to move terrain, but I may save that improvement for later since it actually works pretty well using discrete clicks.  Scale is going to be important here.  Once I get some objects in the scene it will be easier to model the terrain around them because right now each click moves the terrain up or down by 5 meters.  That’s a really big jump but with the camera zoomed out to see almost an entire 1,024 meter x 1,024 meter block, smaller changes are not noticeable.  However, once there are houses and trees and fences and other objects in the scene, it will be easier to model the terrain in a way that make sense at scale.  That’s just hard to do without correctly scaled objects in the scene to use as a reference.

One other feature I’m finding I will need eventually is a scene explorer.  That is, a text listing of all of the objects in a scene.  As it is now, if I have an object in the scene but it’s hidden underneath the terrain or inside another object there is no way for me to select it to move or delete it.  This may not be a huge deal since I can always just edit the .json file directly, but it’s probably worth implementing sooner rather than later just to keep things clean.

Terrain editing

Planning and Development

I’m making good progress with my improved terrain editing tools.  Right now I can right click to select the terrain and a goofy cone shows up.  The cone points down and shows the area that will be affected by clicking the mouse.  You can scroll the mouse wheel to move the cone up or down, changing the size of the circle within which vertices will be affected.  Right after I finished implementing all this I realized that a scaleable sphere centered on the mouse cursor makes so much more sense, so I’ll have to fix that.  In any case, if you have the magical cone up and click the left mouse button, any vertices within the circle of influence™ will move along the y-axis by 5 units.  You can then save the scene and the changes persist.  There are lots of things that need to be improved here but the basic functionality of being able to select a group of vertices with the mouse and change them with a click is totally working.  I honestly didn’t think I would get this far this fast, so hopefully I can polish this up a bit then make a real scene very soon.

Still more editor updates

Planning and Development

I’m getting really close to a functional tool with the world editor.  I can now load a scene, add objects, select objects, translate, rotate, and scale objects, and save the scene.  The editor saves the scene in two passes.  First it writes a .png to the server that is a height map built from the scene’s terrain, then it writes a .json file that contains the name, location, rotation, and scale of each object in the scene.  Those two files can then be used to load the scene later.  There are just a few more abilities I want to add.

  • Remove objects
    • This should be really straightforward, but it will definitely be handy to be able to remove objects that are no longer needed without having to manually edit the .json file.
  • Add lights
    • I might actually save this one till later since it’s easy enough to just add a sunlight lamp or some ambient light to the whole world, but it would be nice for things like lamp posts or other cool atmospheric effects.
  • Edit terrain
    • I had a simple terrain editing tool in place but I was only able to select one vertex at a time and move it up or down.  For managing a large scene this really isn’t practical.  I want to have a scale-able circle projected onto the terrain where clicking raises all of the vertices in the circle and shift-clicking lowers them.  I’m hoping this will be relatively easy to implement.

Once these basic abilities are in place I will start adding to the library of objects that can be placed into a scene.  After I have the basic assets for Penrith Forest available, I’ll make the very first iteration of that area.  Hopefully I can release a small demo shortly after that.  I’m pretty excited to be at this point.

Editor – add assets!

Planning and Development

Check this out:What’s that on top of the hill?  A flower?  How did that get there, you may ask.  Through that nifty little button at the top of the screen that says “Add Assets” would be the answer.  I can now add objects to a scene using the world editor, then move them into place wherever they belong.  Next I’ll need to implement the scene saving function, and then we’ll be cooking with gas.

New tree

Asset Spotlight

I modeled a little tree today.

I like this one because it leans a little and has the crotch right below the leaves, but also because it’s exactly 100 triangles.  It will be fun to see just how low-poly I can create more complicated objects and still keep things interesting.

Raycasting

Planning and Development

Raycasting has been giving me fits.  The problems I was having with raycasting are what really pushed me to switch to a perspective camera in the world editor but it turns out that wasn’t really the issue.  I’m not completely sure what was causing the problem but after a fair amount of digging I discovered that rays were always being shot just below the pointer’s location on the screen.  No matter which way the camera was oriented, rays were always just low.  I really banged my head against a wall on this one but finally figured out that the menu at the top of the editor was throwing off something.  I had the <div> containing the menu nested inside the <div> to which THREE.js adds a canvas for rendering.  This was messing up some kind of calculation and making THREE.js think the screen was shorter than reality and consistently pushing rays down.  To fix this I just moved the nav bar <div> beside the display <div> and set its location to “absolute” with CSS.  This fixed the issue with raycasting and also made the background of the menu not stretch all the way across the screen, which I kind of like, so that was a happy accident.  Now that raycasting is working again, I can work on selecting objects and improving the tools to manipulate them in a scene.